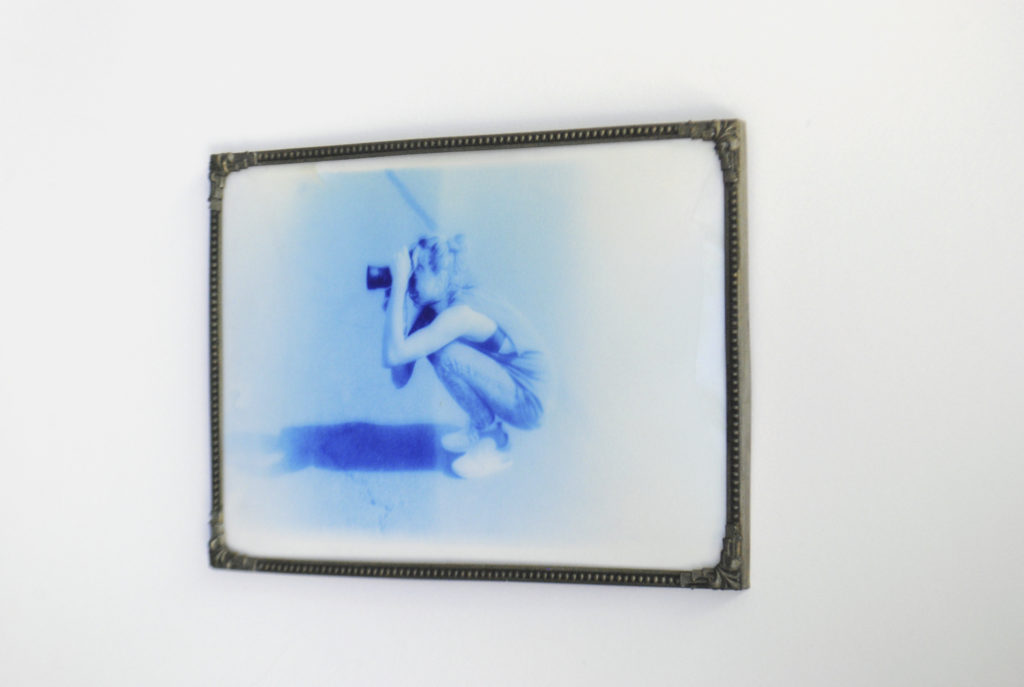
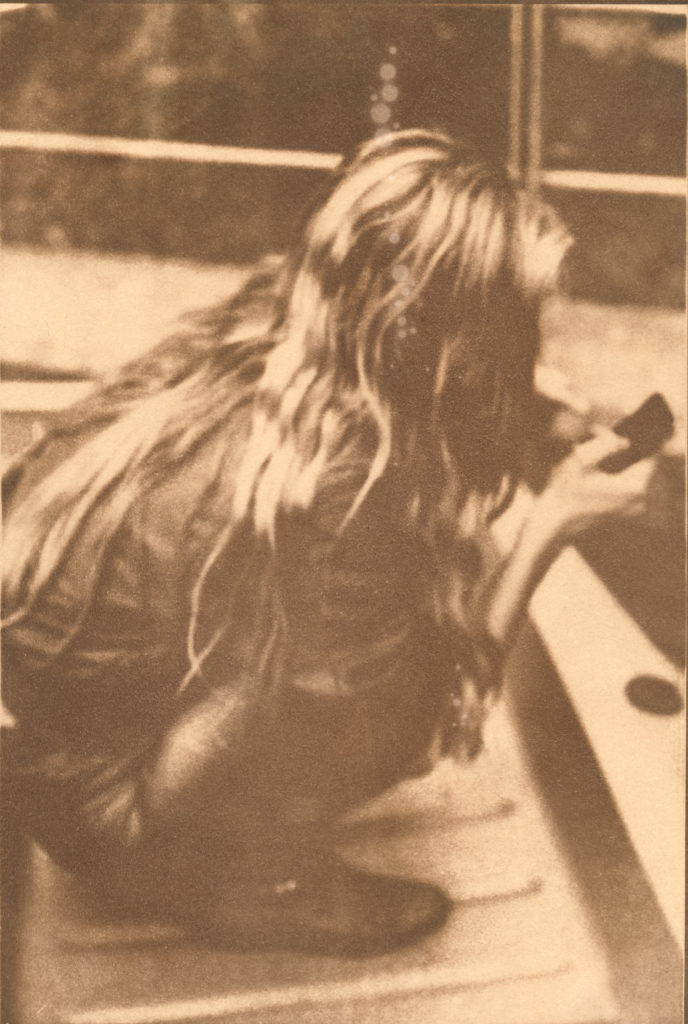
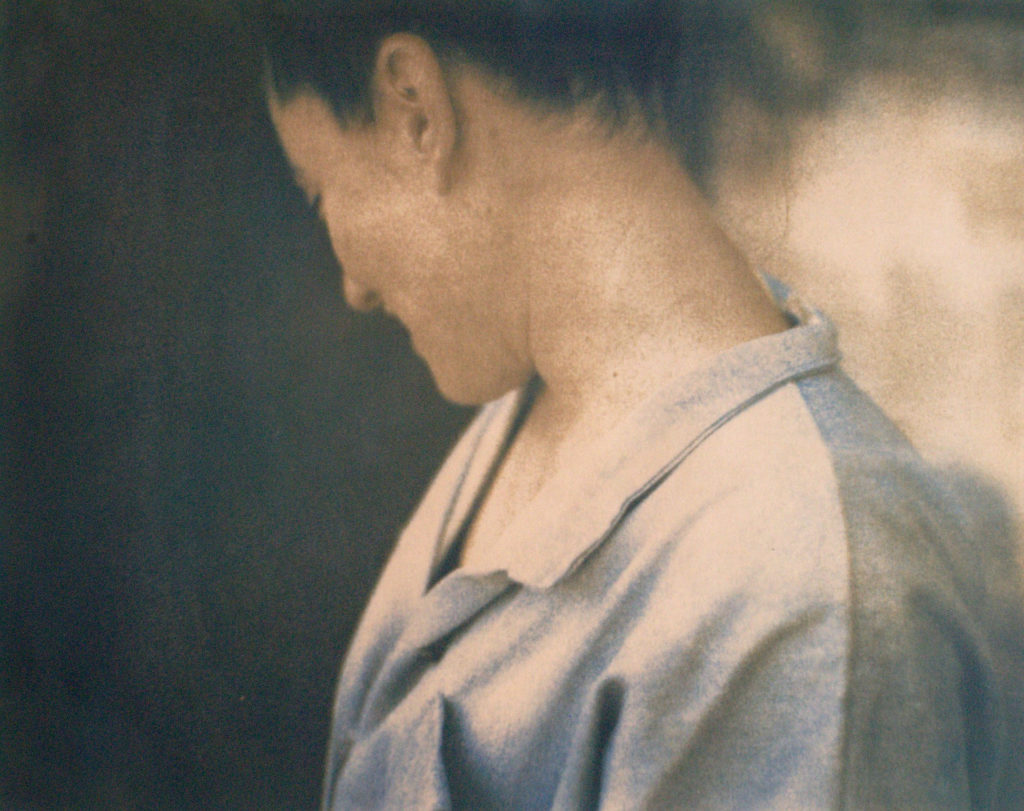
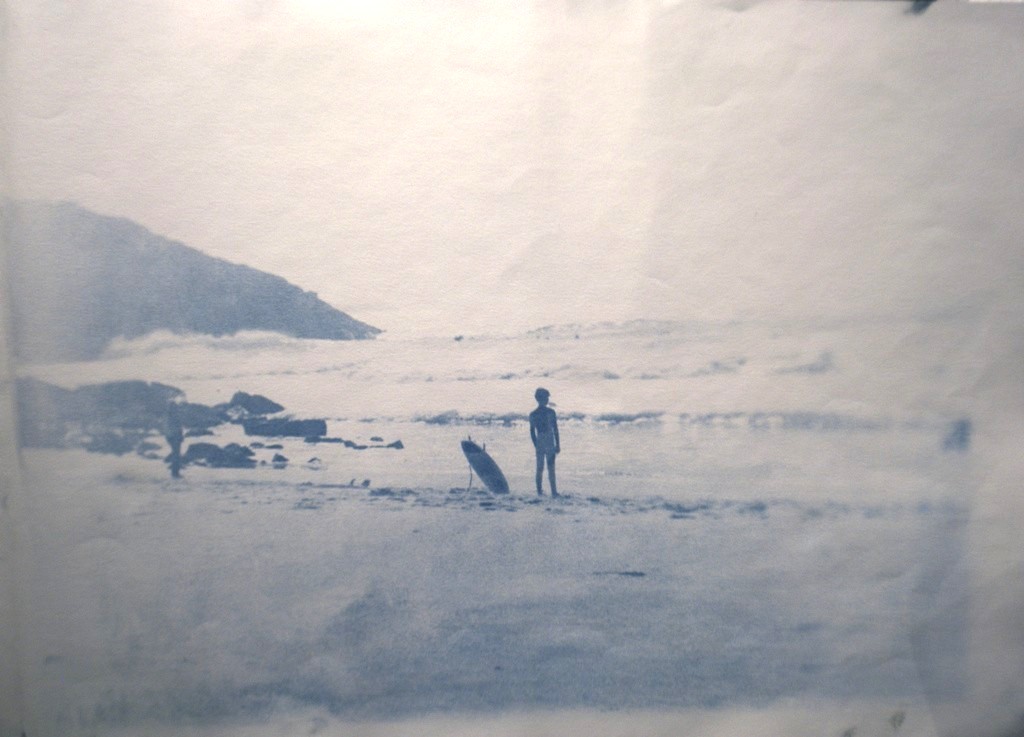
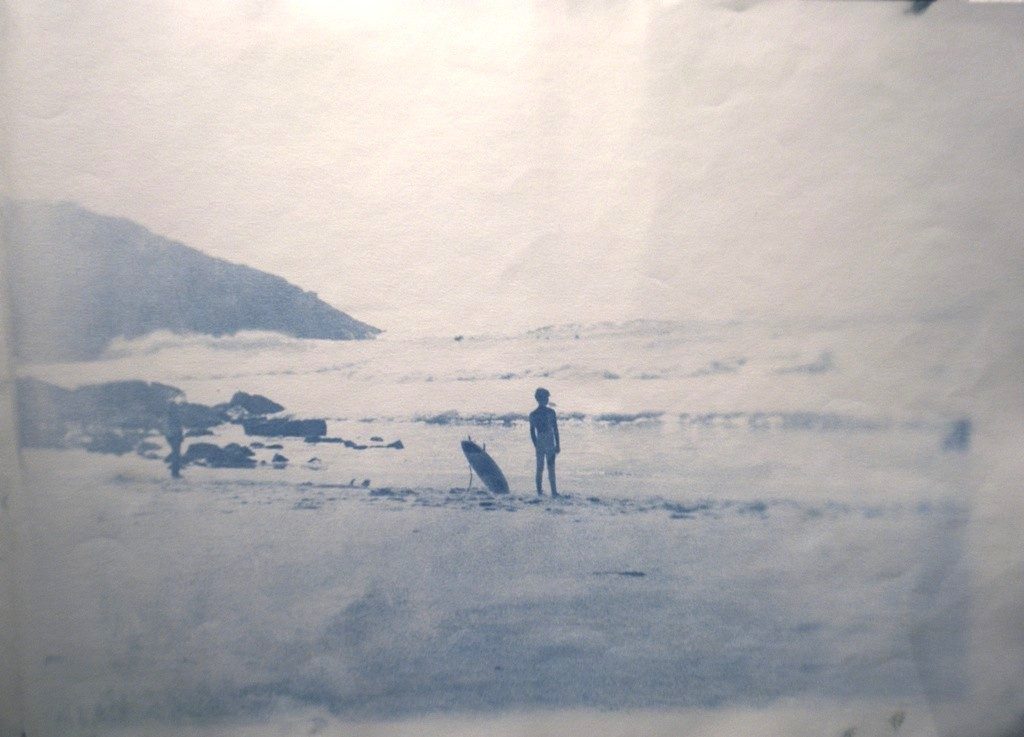
The „Where is my Phone?“ series explores the two-colored Cyanotype printing technique. It acts between the hand made print and the digital life. repeated, concentrated and unique.

analog photography & cyanotype
The „Where is my Phone?“ series explores the two-colored Cyanotype printing technique. It acts between the hand made print and the digital life. repeated, concentrated and unique.
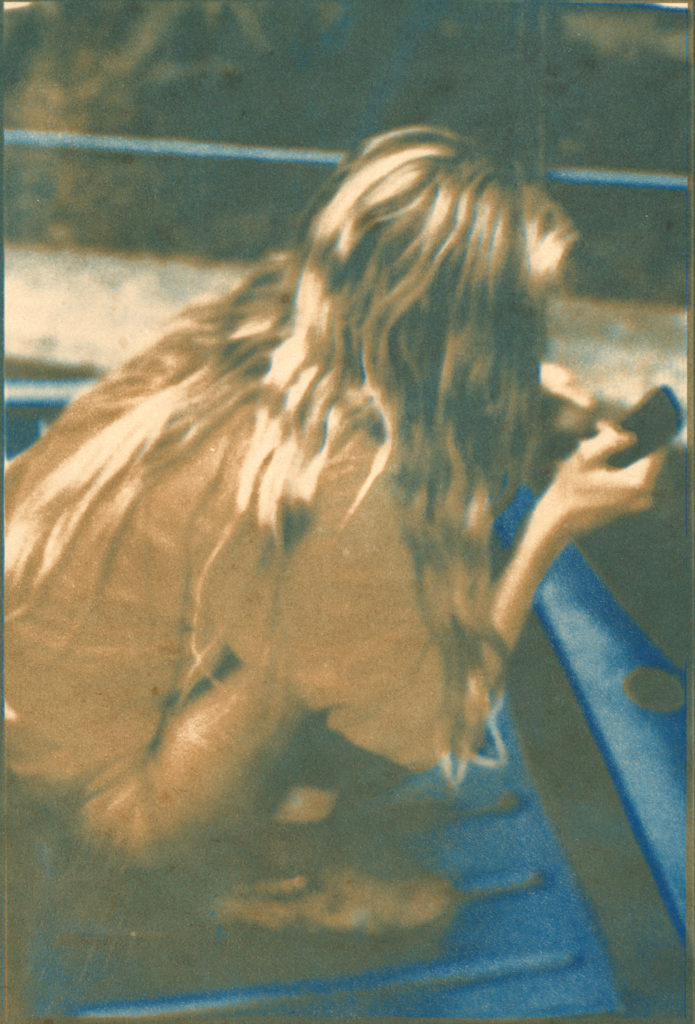
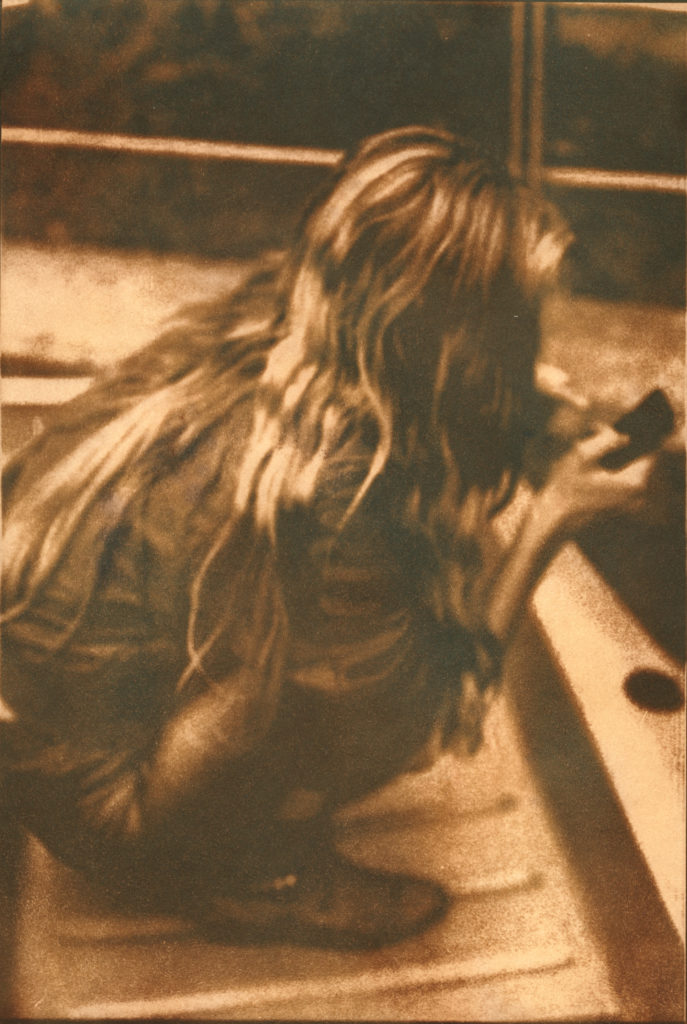
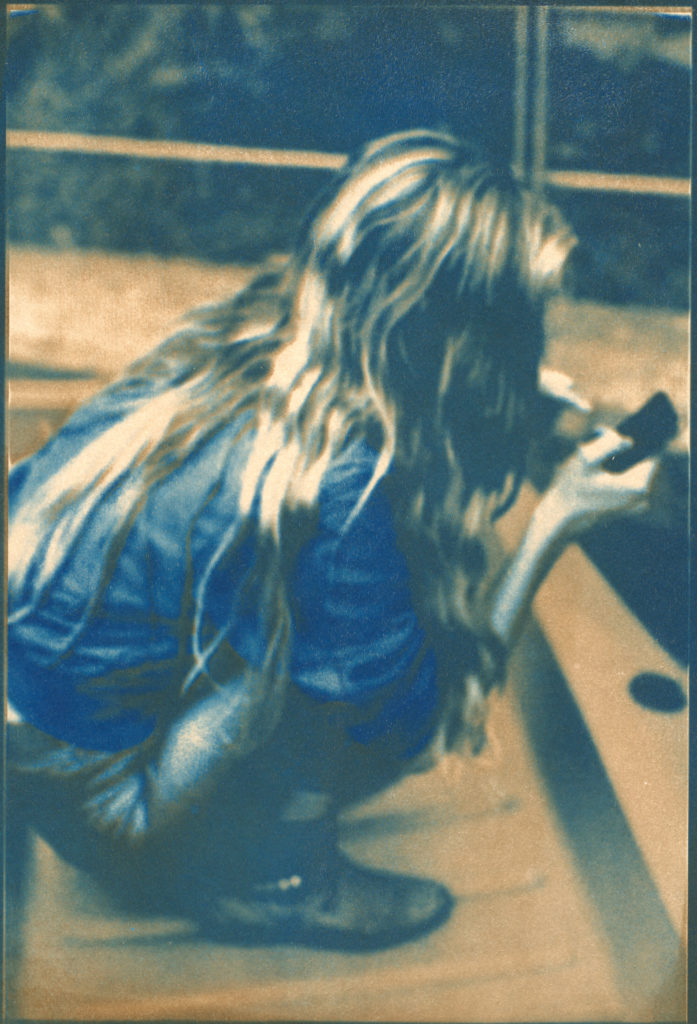
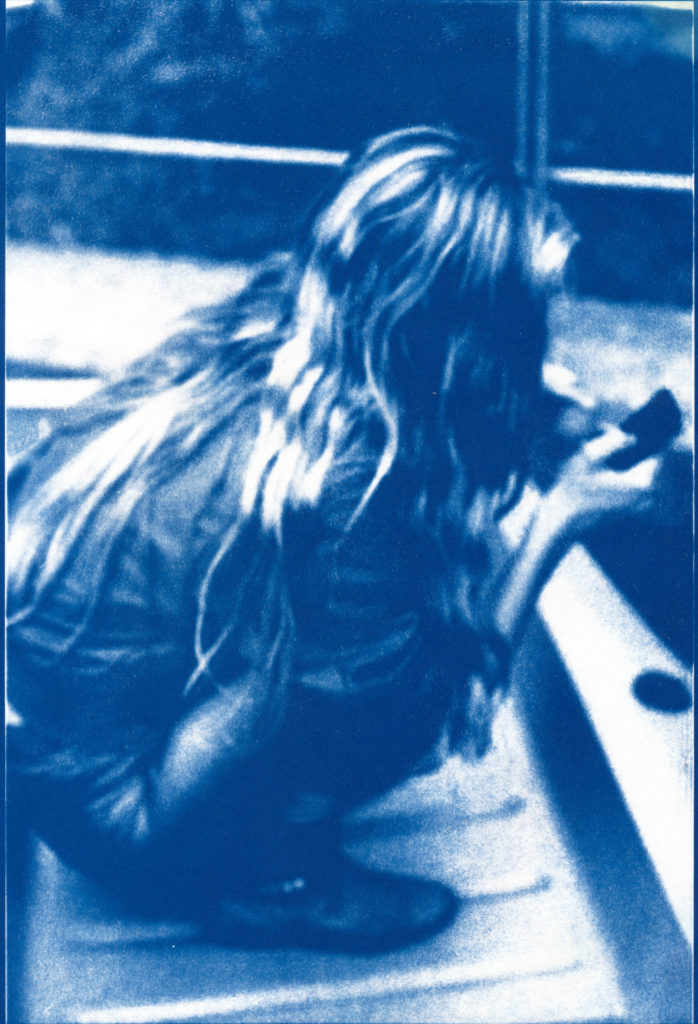
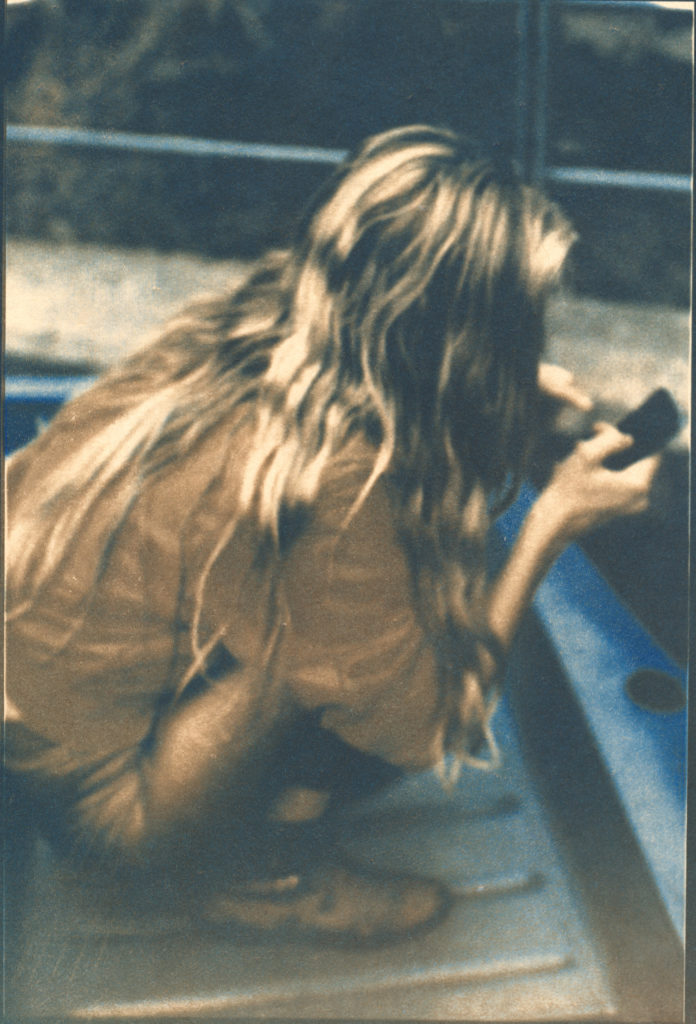
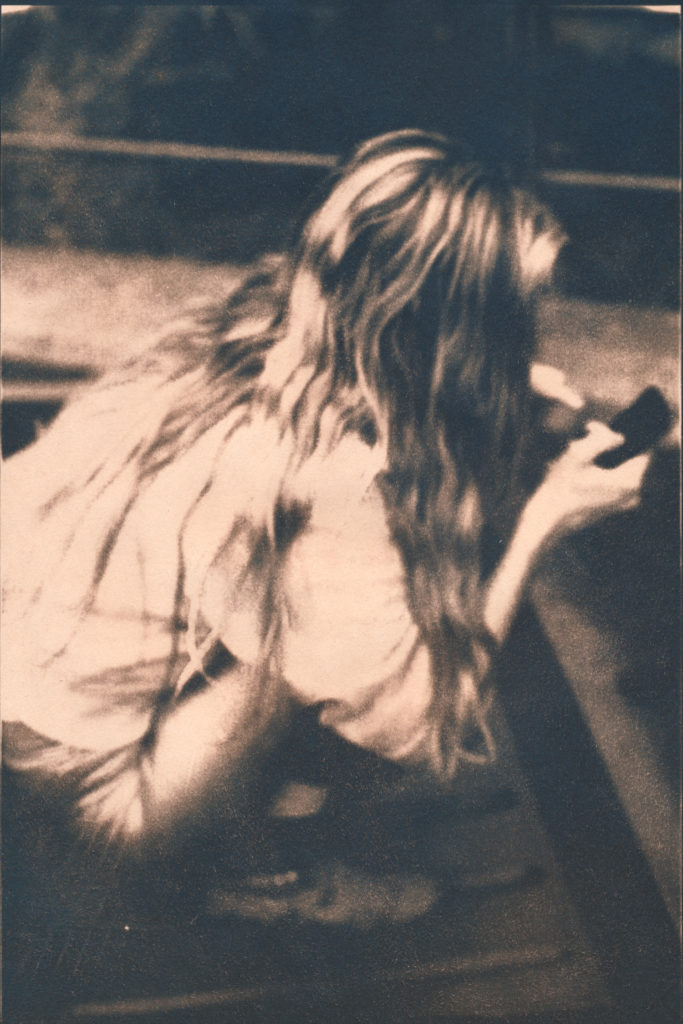
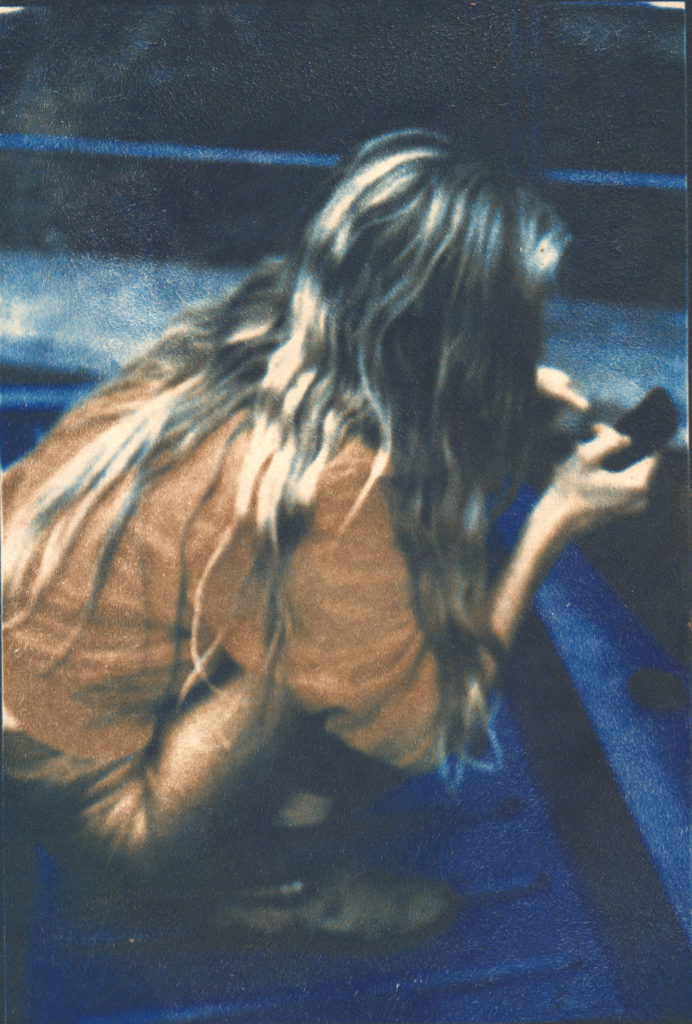
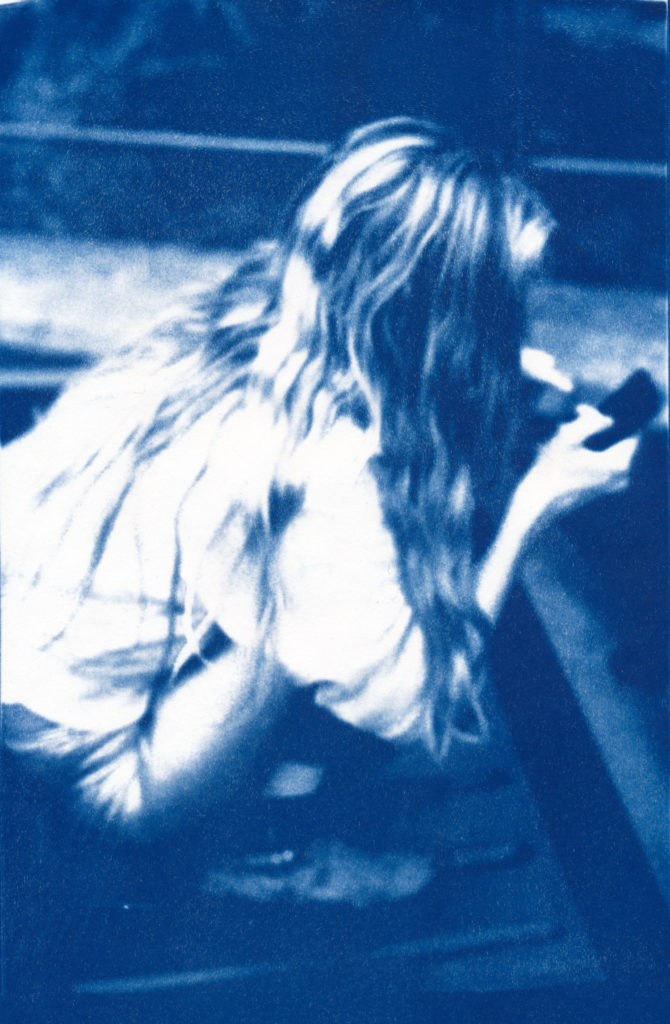
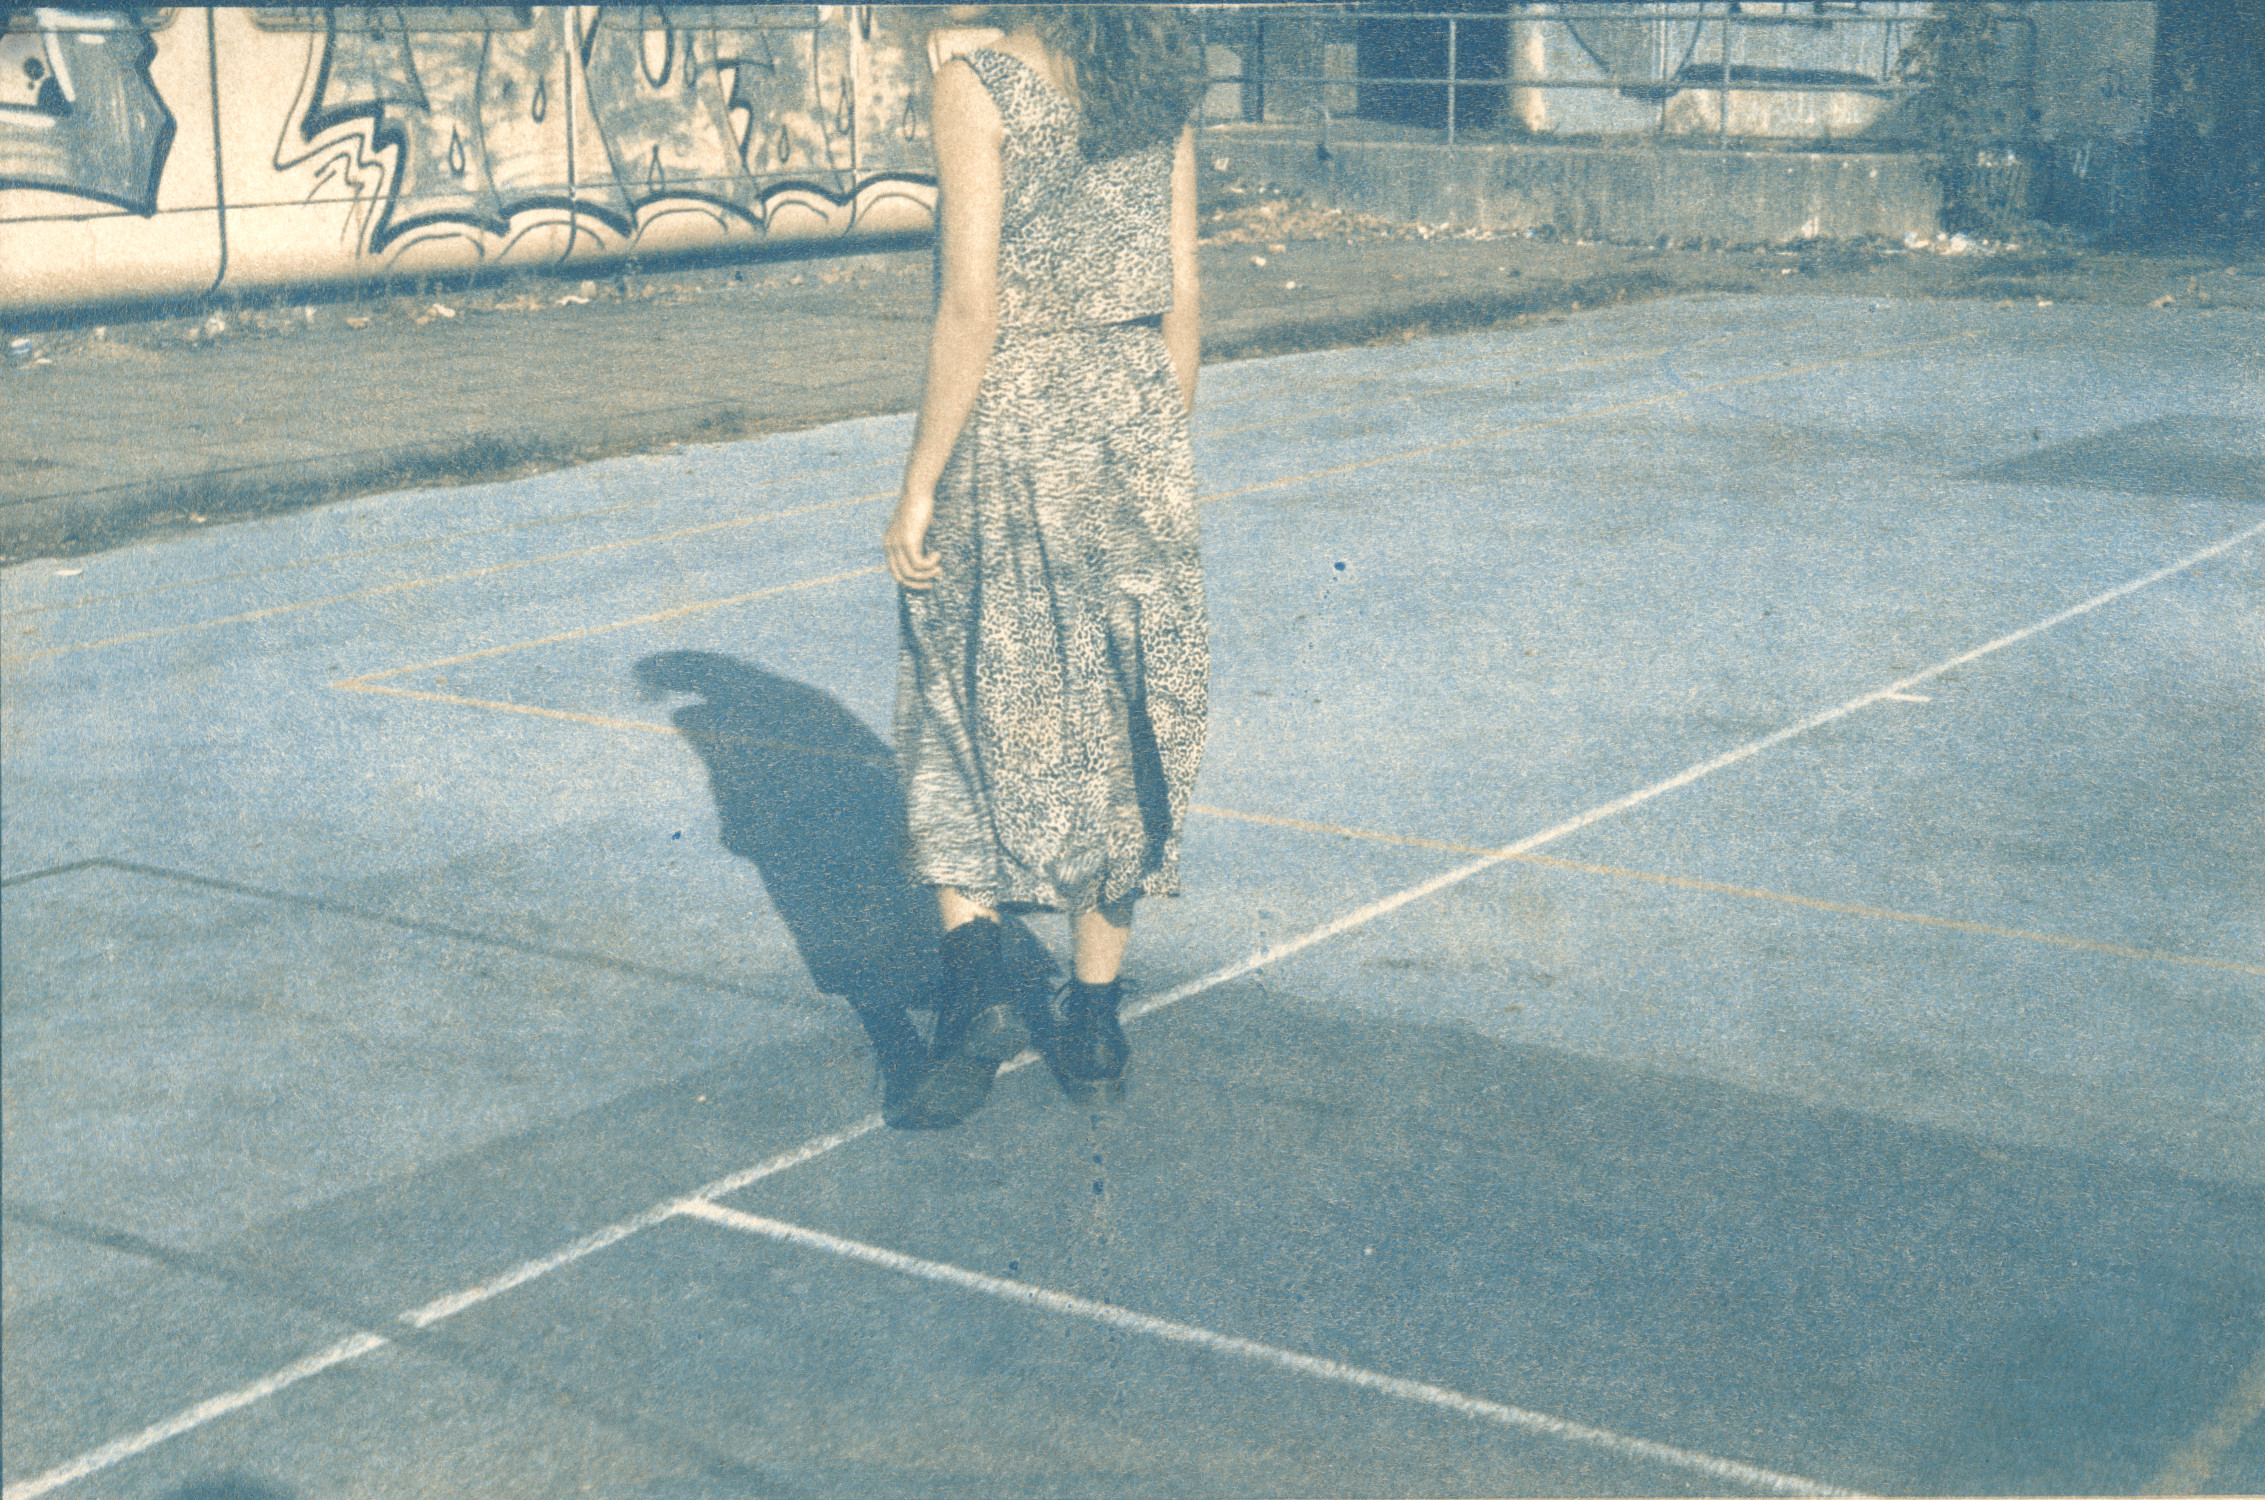
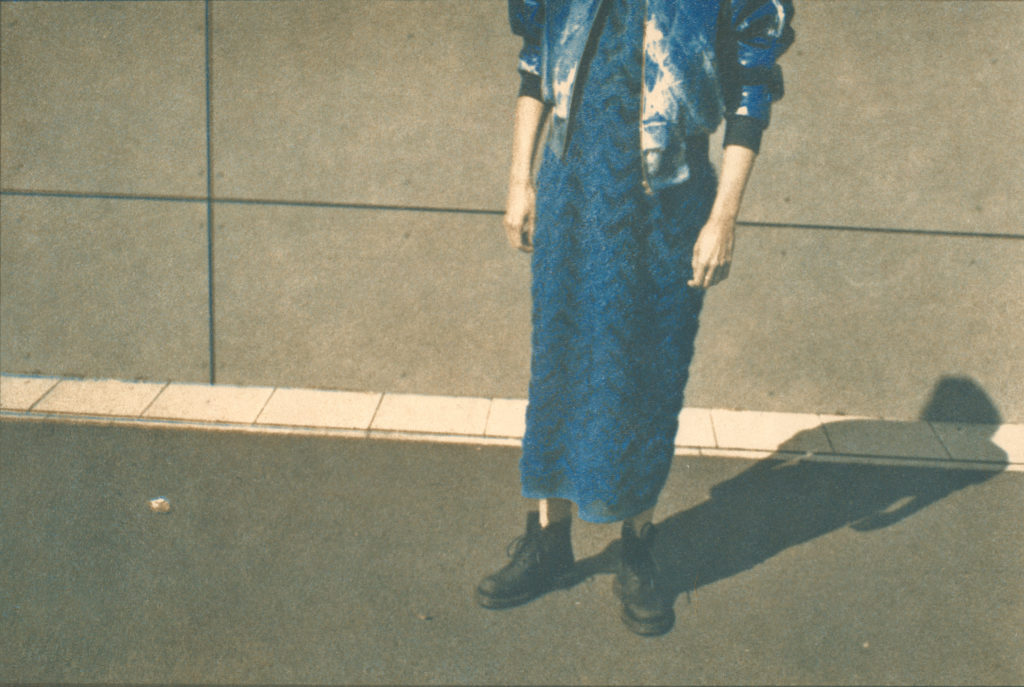
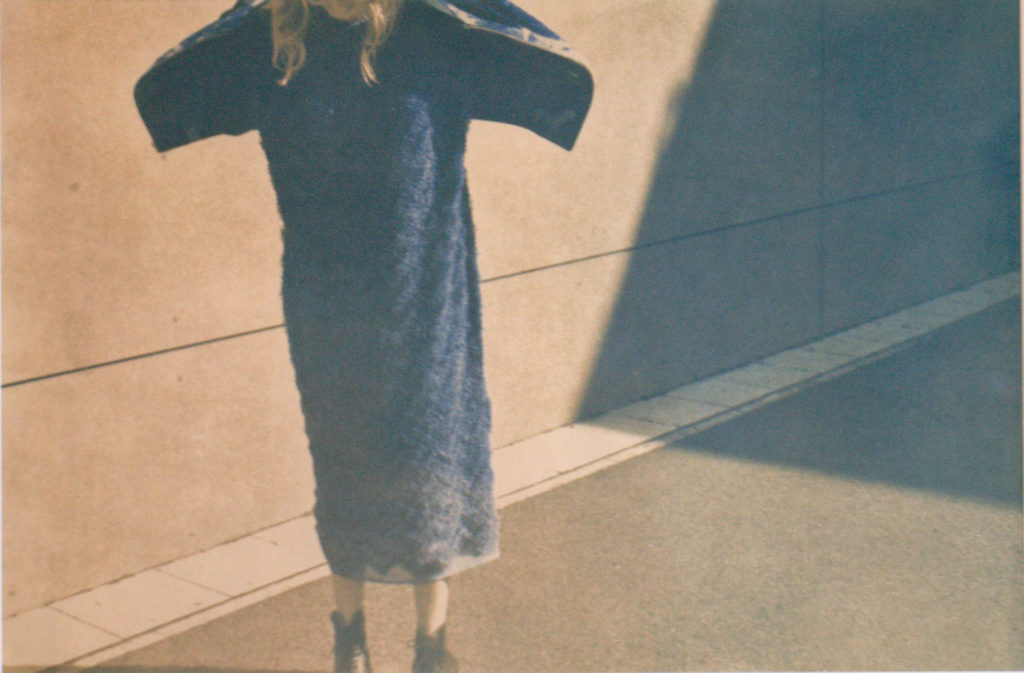
My images from the two colored series called ‘#blaugemacht’ reflect a longing for calmness. In german ‘#blaugemacht’ means making something blue, but also to skip school or work, to skip something that is expected from you. People usually strive for more control, but I deeply feel that in order to understand this changing world we need to give up on predefined conceptions. The old techniques seen through new eyes is source for my inspiration.
Most alternative photography printing techniques need UV light to react. So whether you are creating a salt print, a cyanotype, a carbon print or a platinum/paladium print you always needed a negative in the size of the print to contact print the image.
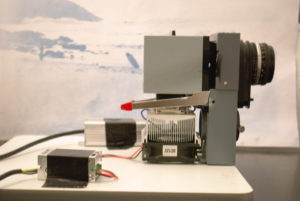
After failing to understand theoretically why an enlarger would not work for UV light, I set out to actually build one last year.
The common misconception is, that the amount of light coming from usual UV lamps is either not strong enough to be distributed over a large area or that the heat of the lamp can not be removed fast enough so that the negative starts melting.
Another common misconception is that glass absorbs most of the UV light. This last one I knew was not right for most glasses, only the ones that have a special UV coating, therefore in theory a lamp that can create a reaction when contact printing should be able to create a reaction when send through a lens.
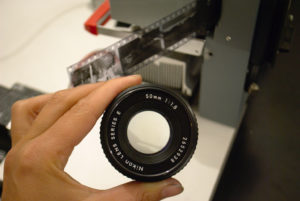
I found out, that the reason it did not work for most people is that the lenses of most enlargers have a pretty strong UV filter in them. Most camera lenses nowadays have one, too. So we needed to find an old camera lens that didn’t have a coating.
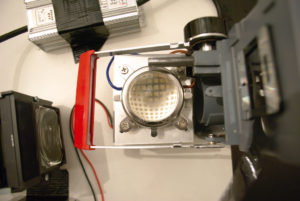
When researching the types of lamps one could use for this refurbished enlarger, I came across UV LEDs. Nowadays they are much cheaper, and can be produced for one specific wavelength, so the heat creation would only be dependent on the efficiency of the LED. I used a 395nm LED as they where cheaper and easy to find. It is actually a 10×10 LED array with 1W each and it came in a kit with it’s own cooling system and a concave lens. The only thing that was missing was a thermal compound to put underneath the LEDs for the cooling system to transport the heat away (Link to kit I used). Of course this is not the optimal wavelength for printing cyanotypes, but it is enough if you have time. For a 20×14 cm glass cyanotype it took between 30 and 90 min depending on the negative and on the film base gray. For larger Prints it can get to a few hours. You can calculate the time by first crating a small version of the print for example a 6x6cm that usually doesn’t take more than 7-15 min. The time for the final big print changes approximately linearly depending on the size.
With the LED I used, grain focusing works, although it is a pain. The light is still clearly visible, I think it is because UV LEDs often have a mixed spectrum (please write to me, if you know more about this). I don’t know how good it will work with a 365nm LED. But I hope it will also have a mixed spectrum.
I hope this article will help some people to create their own repurposed enlarger for alternative photography. This is a game changer for many printing techniques, so please mention me when you distribute this information out into the world. And please contact me if you have any questions!
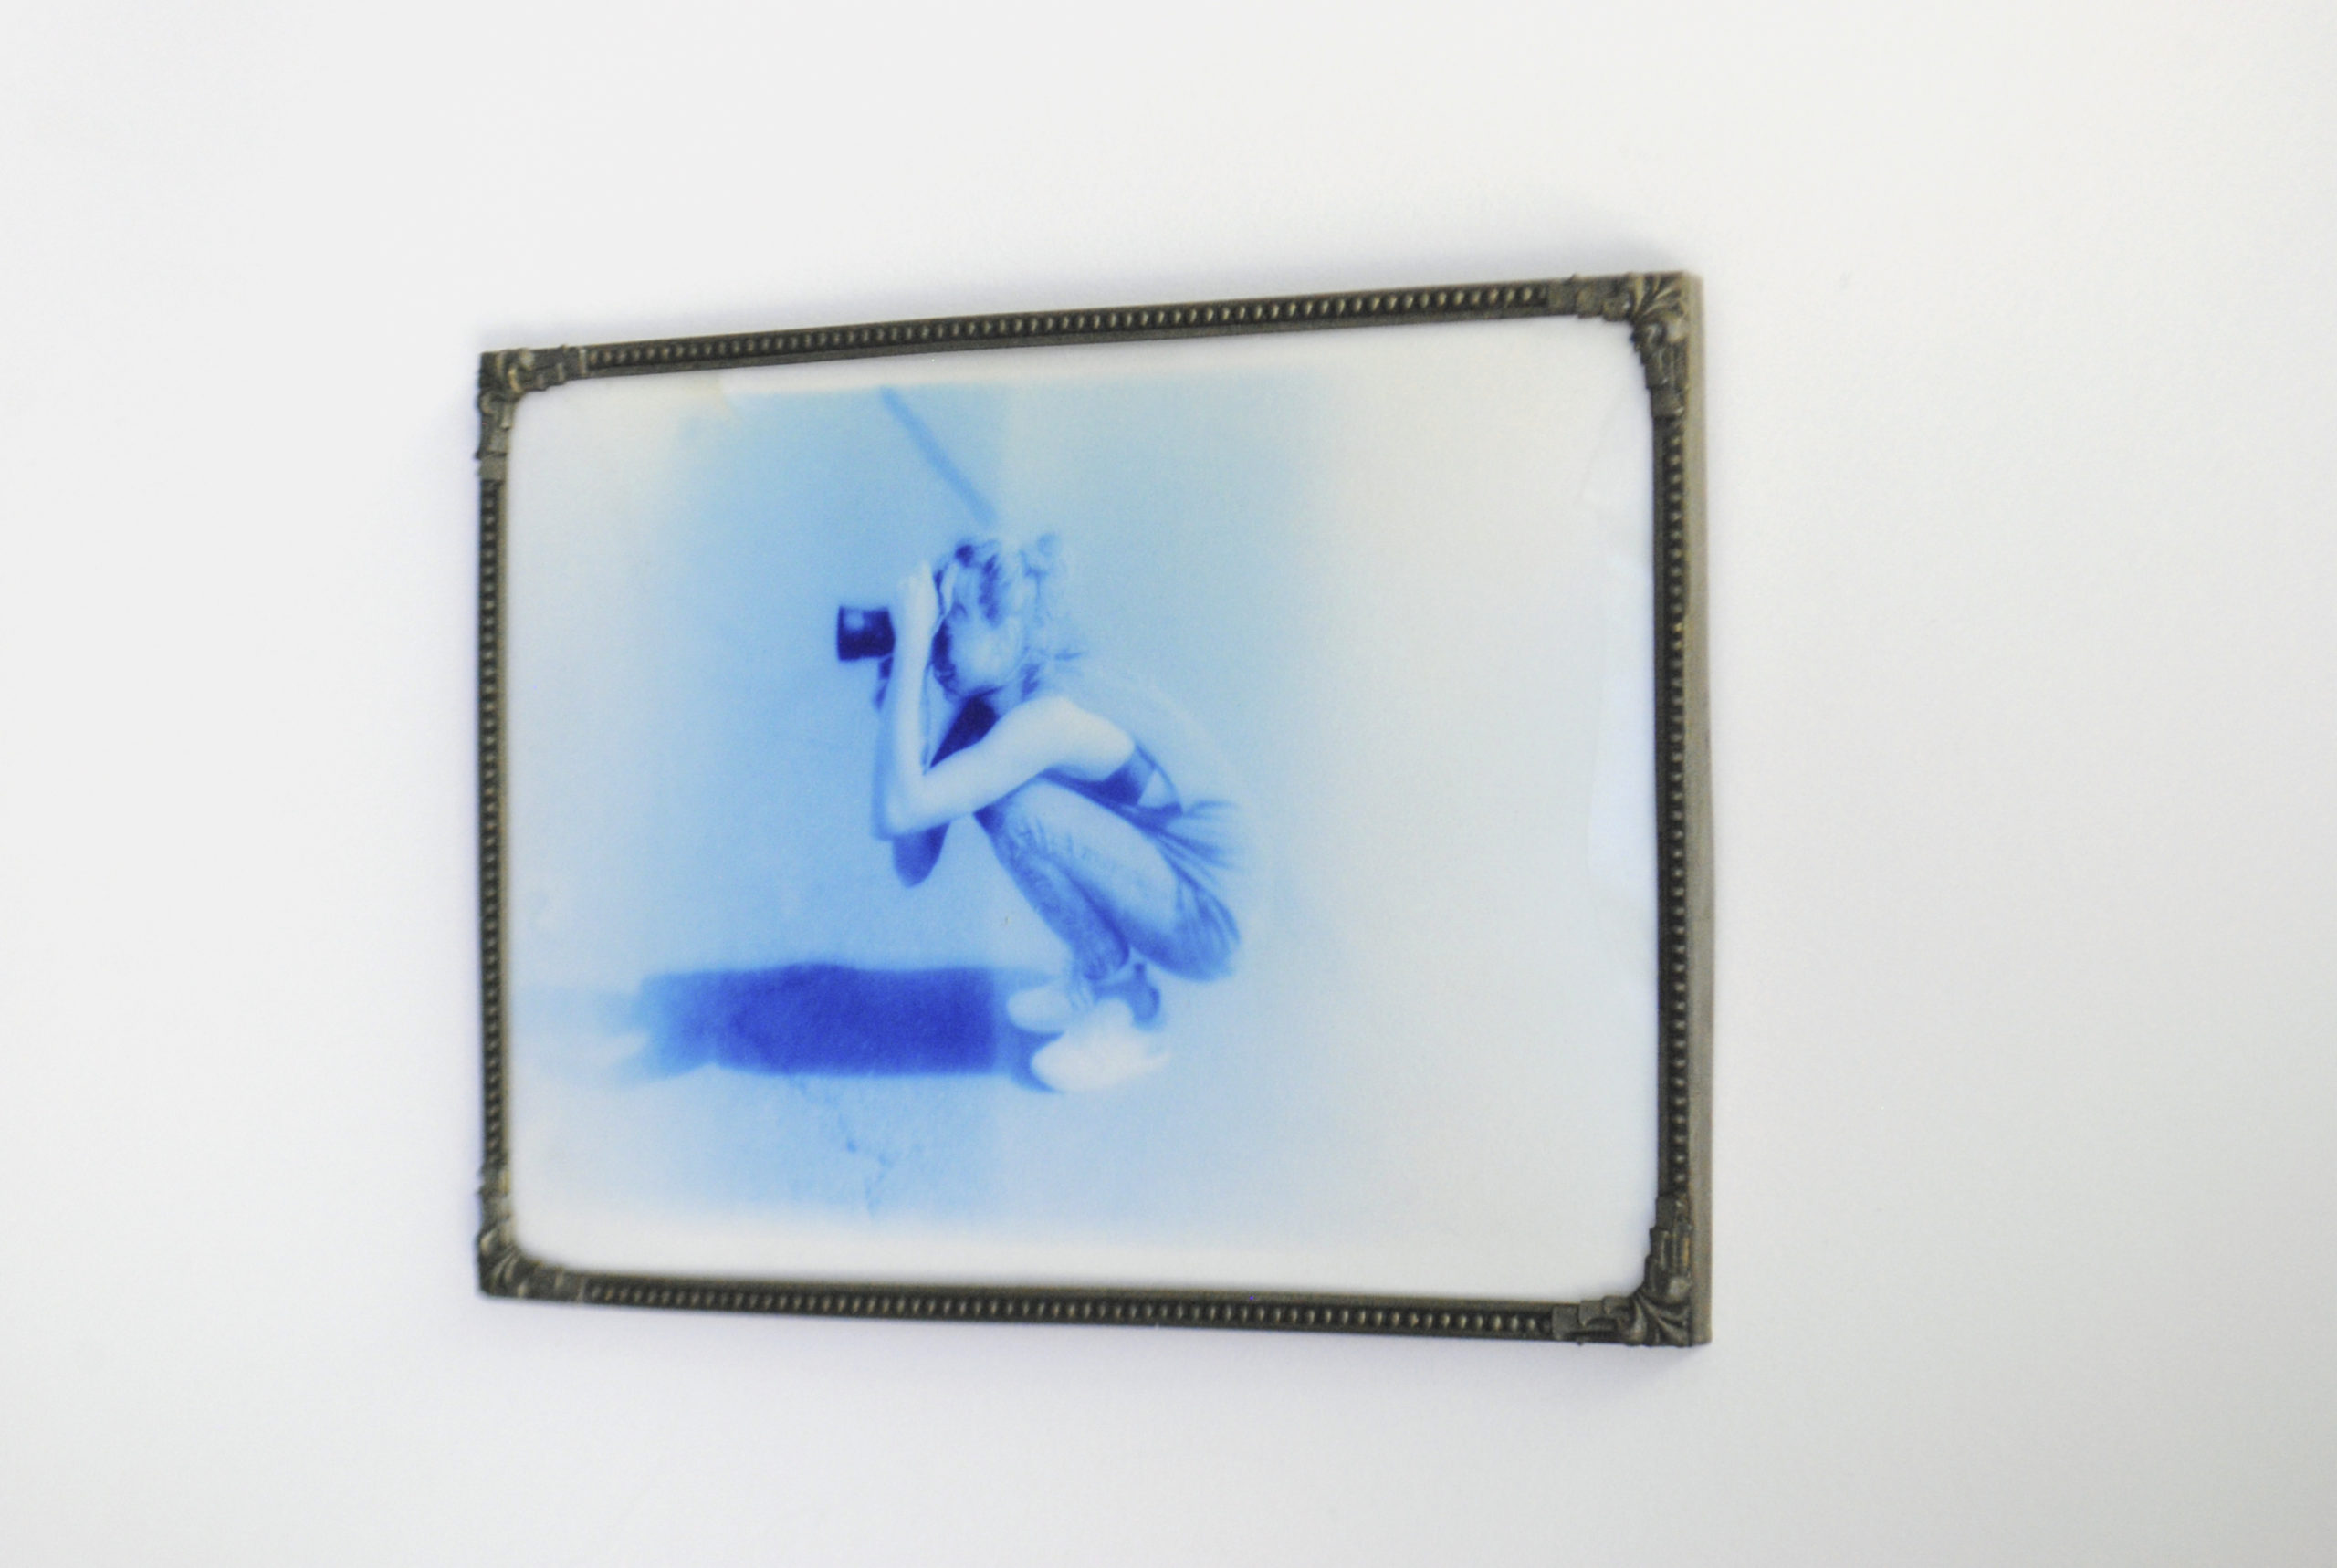
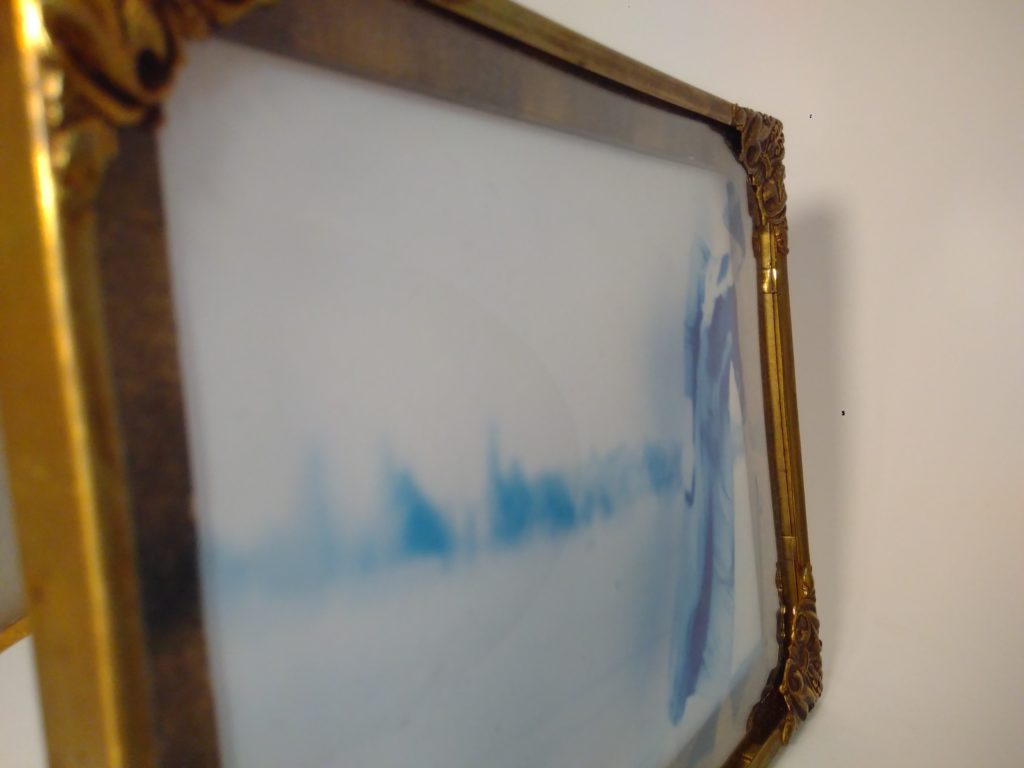
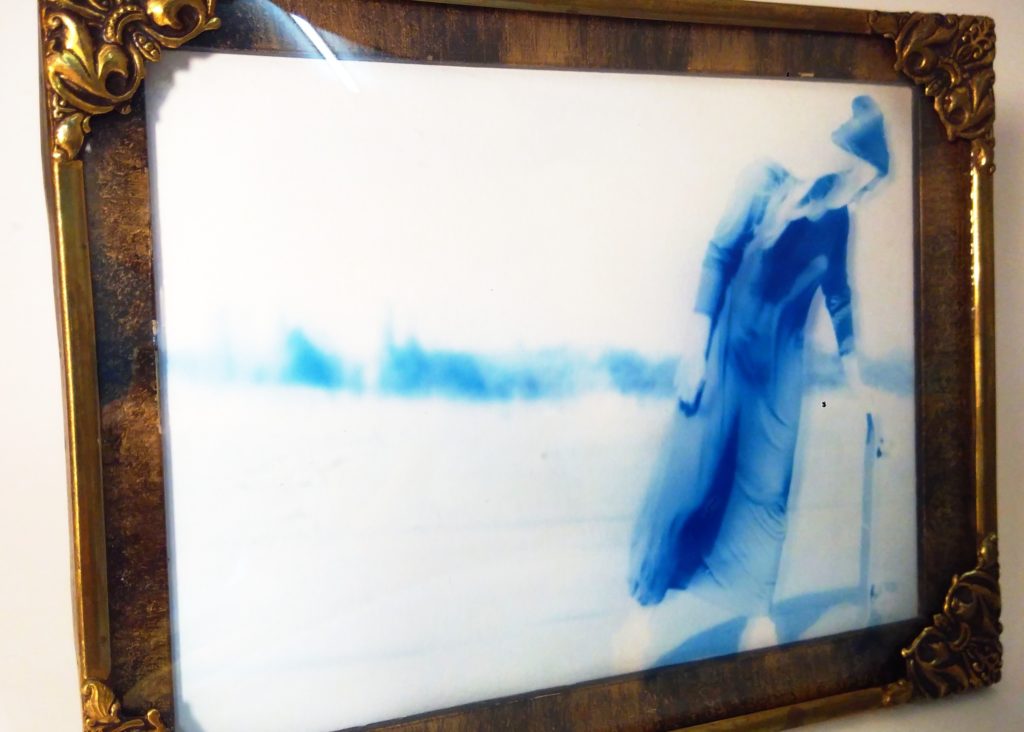
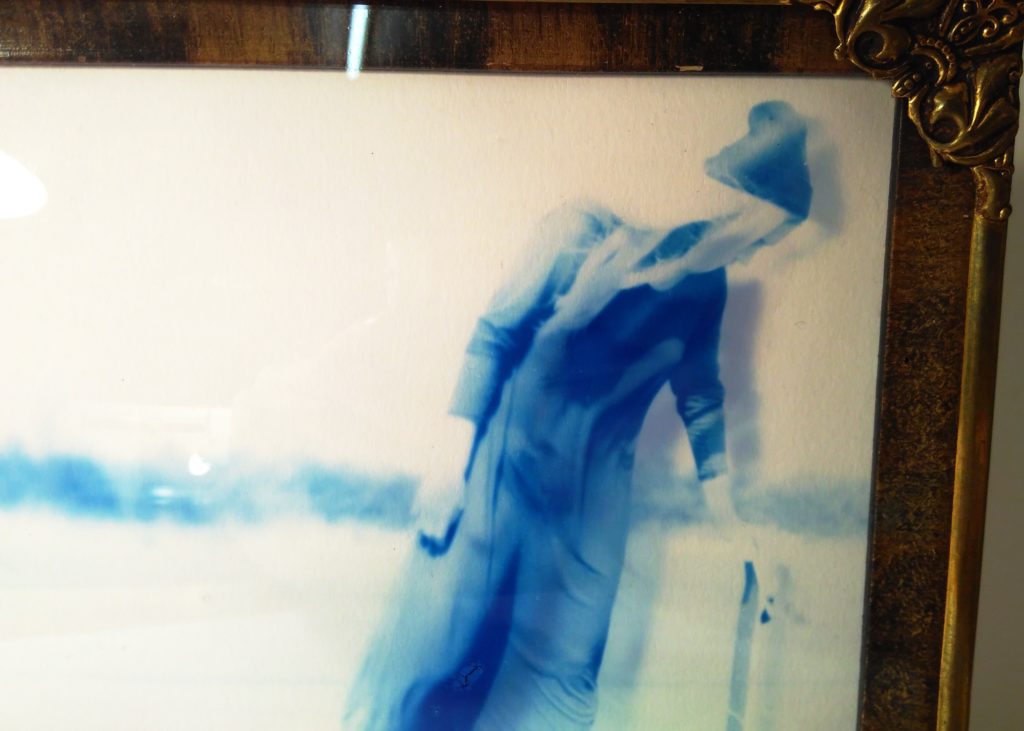
Creating an enlarger for cyanotypes was necessary to project the UV light onto the curved glass. The results are ghost like shadows in the background of the image.